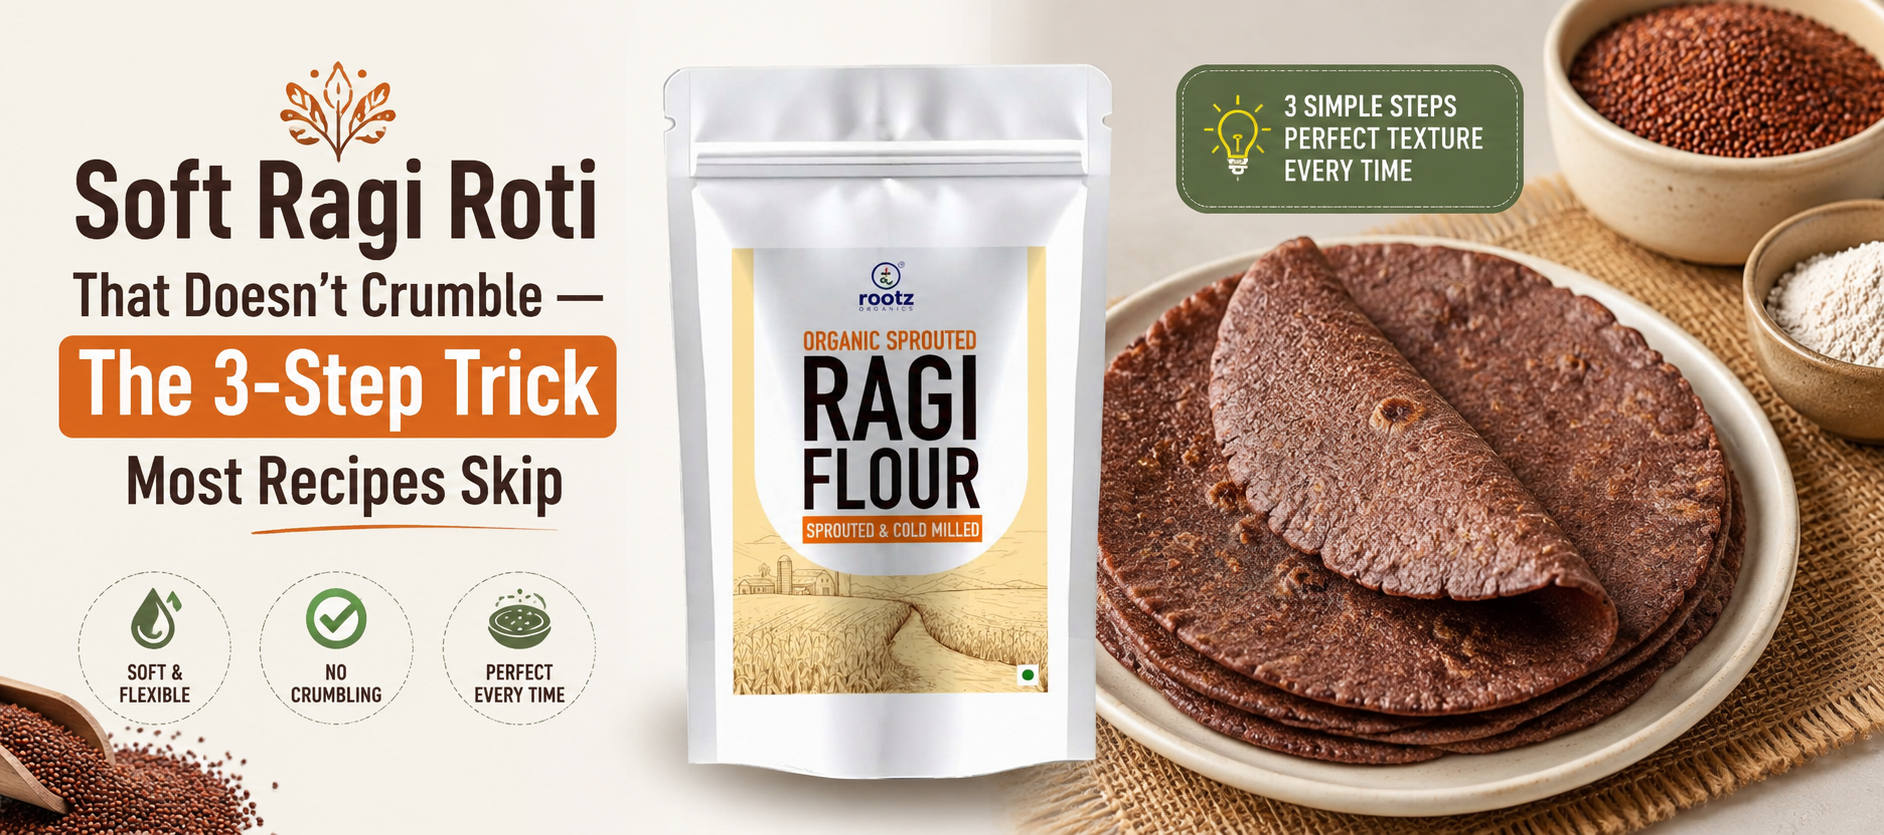
Soft Ragi Roti That Doesn't Crumble — The 3-Step Trick Most Recipes Skip
Quick Answer: Ragi roti crumbles mainly because the flour is mixed with cold water and rolled immediately. The fix is a three-step method — knead with hot water, rest the dough for 10–15 minutes, and cook on a well-heated tawa with light, even pressure. Together, these steps hold the gluten-free dough intact from pan to plate.
If you have ever tried a ragi chapati recipe and ended up with a roti that cracked the moment you lifted it off the tawa, you are not alone. Ragi, or finger millet, has no gluten to bind it the way wheat does, which means the usual "knead and roll" approach that works for atta often fails completely with ragi flour. The good news is that the fix is not about adding more ingredients — it is about changing three specific steps in the process.
Why Ragi Roti Falls Apart More Often Than Wheat Roti
Wheat flour contains gluten, a protein network that stretches and holds dough together when rolled. Ragi flour has no gluten at all, so the dough relies entirely on starch gelatinisation and moisture to stay cohesive. Skip that step, and the dough simply will not hold its shape under a rolling pin.
This is also why so many home cooks give up on millet rotis after one or two failed attempts. The recipe itself is not wrong — it is usually missing the technique that compensates for the absence of gluten.
What Is Ragi Roti?
Ragi roti is a traditional South Indian flatbread made from finger millet flour, water, and salt, often enriched with grated vegetables or ghee. It is naturally gluten-free, rich in calcium and dietary fibre, and has been a staple in Karnataka, Andhra Pradesh, and Tamil Nadu households for generations, typically eaten with chutney or curd.
The 3-Step Trick Most Recipes Skip
Most online recipes list ingredients correctly but rush through the method. These three steps, taken in order, are what separate a roti that holds together from one that falls apart on the tawa.
Step 1: Knead With Hot, Not Cold, Water
Boil the water first, then pour it gradually into the ragi flour while mixing with a spoon, since the water will be too hot to handle directly. Hot water partially gelatinises the starch in the flour, which creates the binding effect that gluten would normally provide. Cold or room-temperature water leaves the starch granules intact, and the dough stays crumbly no matter how long you knead it.
Use roughly three-quarters of a cup of hot water for every cup of ragi flour, adding it in two or three additions rather than all at once. Knead while the mixture is still warm — this is the window in which the starch binds most effectively.
Step 2: Let the Dough Rest Before Rolling
Cover the kneaded dough with a damp cloth and let it rest for 10 to 15 minutes at room temperature. This resting period allows the moisture to distribute evenly through the flour, which is the step most recipes leave out entirely.
Skipping the rest and rolling immediately is one of the most common reasons ragi roti tears along the edges. A dough that has rested feels noticeably more pliable and easier to shape by hand or with a rolling pin.
Step 3: Cook on a Hot Tawa With Light, Even Pressure
Heat the tawa on medium-high before placing the rolled roti, then reduce to medium once it is on the pan. Press down gently and evenly with a folded cloth or spatula as it cooks, rather than pressing hard in one spot, so the roti puffs and sets uniformly instead of cracking at the thinner sections.
Flip the roti two to three times, cooking each side until light brown spots appear. Since ragi dough has no gluten to trap steam the way wheat dough does, uneven heat is often what causes the last-minute crumble right before serving.
Choosing the Right Ragi Flour Changes the Outcome Too
Technique solves most of the crumbling problem, but the flour itself plays a role that is easy to overlook. Coarsely milled or old flour absorbs water unevenly, which makes it harder to achieve a smooth, cohesive dough regardless of method. Finely stone-ground organic ragi flour retains more of its natural starch structure because it is milled at low temperatures, which noticeably improves how well the dough binds during kneading.
Freshness matters as much as milling quality. Ragi flour that has sat on a shelf for months tends to dry out and lose its natural moisture-holding capacity, so buying smaller quantities more frequently is a simple habit that improves every batch.
Temperature during storage plays a quieter role that most people overlook. Flour kept in a warm kitchen cupboard near the stove loses moisture faster than flour stored in a cool, dark corner, and that gradual drying is exactly what makes month-old flour harder to bind even with the hot-water method. A simple airtight container away from direct heat extends how long the flour performs well in dough.
Common Mistakes That Make Ragi Roti Crumble
Beyond the three-step method, a few recurring habits work against soft, foldable ragi roti even when the basic steps are followed correctly.
- Rolling directly on the counter: Roll ragi dough between two sheets of parchment paper or a greased plastic sheet instead, since it does not have the elasticity to be lifted off a bare surface without tearing.
- Making the dough too dry: A stiff dough is harder to bind. The dough should feel soft and slightly tacky, similar to soft clay, not firm like wheat dough.
- Rolling too thin: A thinner roti has less structure to hold together. Aim for a medium thickness, similar to a regular phulka.
- Transferring roti with bare hands: Use a flat spatula to move the roti onto the tawa, as lifting it by hand often causes it to tear at the edges.
- Cooking on a cold pan: Placing the roti on a tawa that has not fully heated causes uneven cooking and increases the chance of cracking.
A few traditional additions can make the dough easier to handle without changing its essential character. Finely chopped coriander, grated carrot, or a pinch of ajwain are common regional variations that add flavour while their moisture content also helps the dough hold together. These additions work best when mixed in right after kneading, while the dough is still warm from the hot water.
Ragi Roti Compared to Wheat Roti
Understanding how ragi behaves differently from wheat makes the technique easier to remember and apply consistently.
- Binding agent: Wheat roti relies on gluten; ragi roti relies on gelatinised starch from hot water.
- Kneading water: Wheat dough is kneaded with room-temperature water; ragi dough needs hot water for the dough to hold together.
- Rolling surface: Wheat dough can be rolled directly on a dry counter; ragi dough rolls best on parchment or a greased sheet.
- Resting time: Wheat dough benefits from resting for elasticity; ragi dough needs resting primarily for moisture distribution.
- Nutrient profile: Ragi is naturally gluten-free and higher in calcium and fibre per 100 grams compared to refined wheat flour.
Why Ragi Deserves a Regular Spot in Indian Kitchens
Finger millet has been part of Indian diets for centuries, particularly in southern states where it forms the base of everyday meals for children, adults, and the elderly alike. It is naturally rich in calcium, iron, and dietary fibre, and its low glycaemic index makes it a grain many households prefer for steady, sustained energy through the day.
Pairing ragi roti with a spoon of organic a2 ghee is a traditional combination that also improves the texture of the finished roti, since the fat coats the starch and keeps the flatbread soft for longer after it comes off the tawa. A light brushing of cold-pressed organic oil online on the tawa before cooking also helps prevent sticking without altering the roti's natural texture.
Households moving toward millet-based staples often find it easier to build a full pantry rather than switching one item at a time. Sourcing dals, cold-pressed oils, and grains together from a single trusted range of organic food products online tends to simplify the transition and keeps quality consistent across the kitchen.
Storing and Reheating Ragi Roti Without Drying It Out
Ragi roti dries out faster than wheat roti because it has less inherent elasticity to trap moisture. Stack cooked rotis in a cloth-lined container while still warm, and cover them fully, since the trapped steam keeps them soft for a few hours.
For next-day use, store rotis in an airtight container in the refrigerator and reheat them on a tawa with a light sprinkle of water rather than in a microwave, which tends to make them rubbery. Freshly milled flour, stored properly and used within a reasonable time, also reduces how quickly the finished roti dries out on the plate.
Bringing It Together
A reliable ragi chapati recipe comes down to three details most instructions gloss over: hot water for kneading, a proper resting period, and controlled heat with gentle pressure while cooking. Add fresh, well-milled flour to that method, and the crumbling problem that discourages so many home cooks largely disappears. Families building a broader millet pantry often find it convenient to explore a wider organic food online selection, or browse a full online organic grocery range, so that flours, ghee, and oils are sourced consistently from the same trusted place.
In short: ragi roti does not crumble because of the grain — it crumbles because of the technique. Hot-water kneading, a short resting period, and steady tawa heat with even pressure are the three adjustments that turn a fragile dough into a soft, foldable roti every single time.
Frequently Asked Questions
Why does my ragi roti break every time I try to lift it?
Ragi roti breaks most often because the dough was kneaded with cold water, which leaves the starch ungelatinised and unable to bind. Switching to hot water during kneading, along with a 10-minute rest before rolling, usually resolves the problem within the first attempt.
Can I make ragi roti soft without adding wheat flour?
Yes, a fully gluten-free ragi roti can be soft if the dough is kneaded with hot water and rested properly before rolling. Adding a small amount of boiled and mashed potato or grated bottle gourd can further improve softness without needing any wheat.
How much water is needed to knead ragi flour properly?
As a general guide, use about three-quarters of a cup of hot water for every cup of ragi flour, added gradually while mixing. The exact amount can vary slightly depending on the flour's freshness and how finely it is milled.
Why is my ragi roti hard instead of soft?
A hard ragi roti usually means the dough was too dry, was rolled too thin, or was overcooked on the tawa. Keeping the dough soft and slightly tacky, rolling to a medium thickness, and removing the roti as soon as light brown spots appear all help keep it soft.
Is ragi roti healthier than regular wheat roti?
Ragi roti is naturally gluten-free and generally higher in calcium and dietary fibre compared to refined wheat roti, making it a useful addition for people managing blood sugar or looking for bone-supporting nutrients. It should be seen as a wholesome addition to a varied diet rather than a direct medical substitute for wheat.
-

Why More Doctors Are Recommending Traditional Indian Foods Again
July 24th, 2026 -

Why Are So Many Healthy-Looking Foods Actually Ultra-Processed
July 24th, 2026 -

Healthy School Tiffin Ideas Using Millets and Sprouted Flours
July 22nd, 2026